
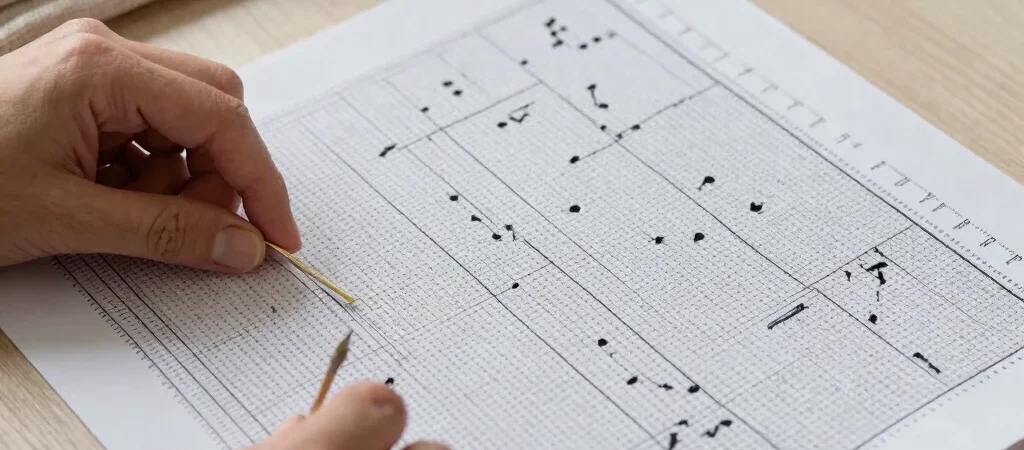
The chart can look busy before the first stitch, especially when several symbols sit close together. Give yourself a moment to understand its small system: symbols point to thread colors, grid lines help you keep your place, and the stitch count describes the design’s width and height. Once those details make sense, the pattern becomes a map rather than a puzzle.
Find the Key First
Match each symbol in the chart to its entry in the key before you begin. If two symbols look similar, take extra care to compare them in good light and keep the corresponding floss separate. A clear chart is easier to follow when the legend stays close by, so you do not have to rely on memory between color changes.
Use the Grid as a Guide
Many charts use heavier grid lines to mark groups of ten stitches. Find the center of the design and the center of your fabric, then count outward using those marked blocks as checkpoints. If you prefer to start in a corner, confirm that your fabric has enough room on every side before making the first stitch.
Keep Your Place Clearly
A magnetic board, a removable highlighter on a printed chart, or a simple row marker can help you track where you are. Mark only the stitches you have completed, and pause at a grid line when you put the work down. That small habit makes it easier to return to the pattern without recounting the whole section.